Wondering what you can do with your ‘do? A sleek bun works wonders when your hair needs a little bit of love and attention and you’re short on time.
Hello, beauties! I’m hanging out again with the lovely Victoria so we can give you the goods on how to style your hair into a sleek bun when your ‘do needs a little bit of love and you’re short on time.
Lately, I’ve been a little bit in love with the center-part, super-sleek bun. A lot of you have been asking me what I do to create that look. I’ll tell you now – it is so easy! I don’t straighten my hair, I don’t blow dry my hair. I just literally slick it back when I get out of the shower.
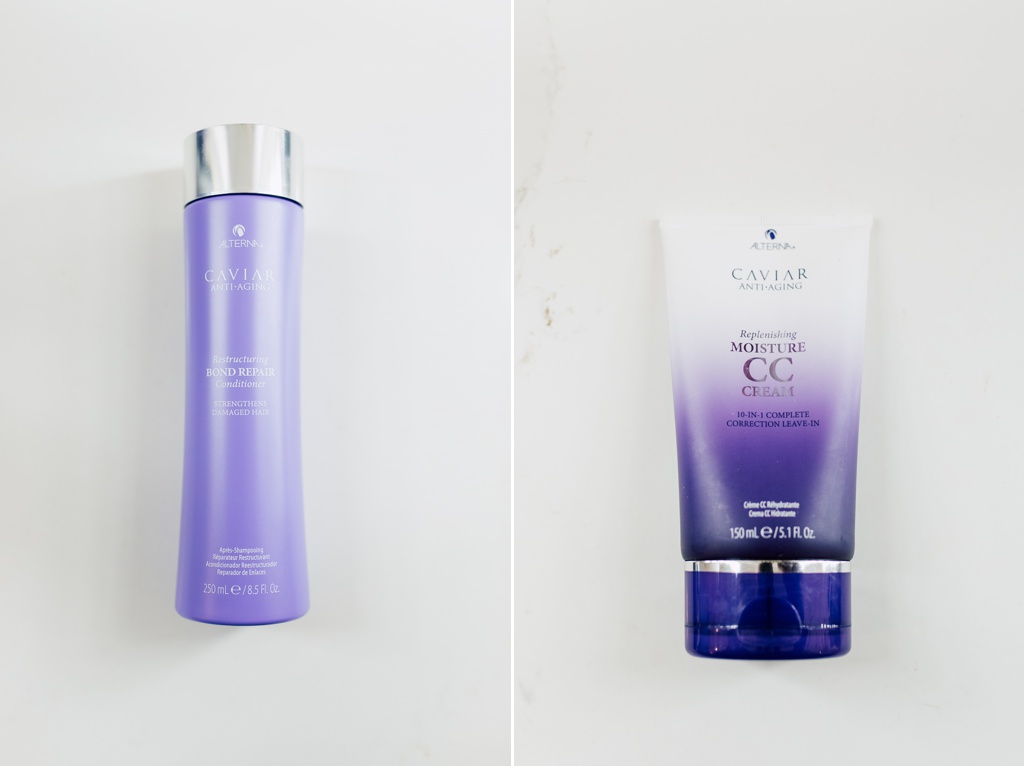
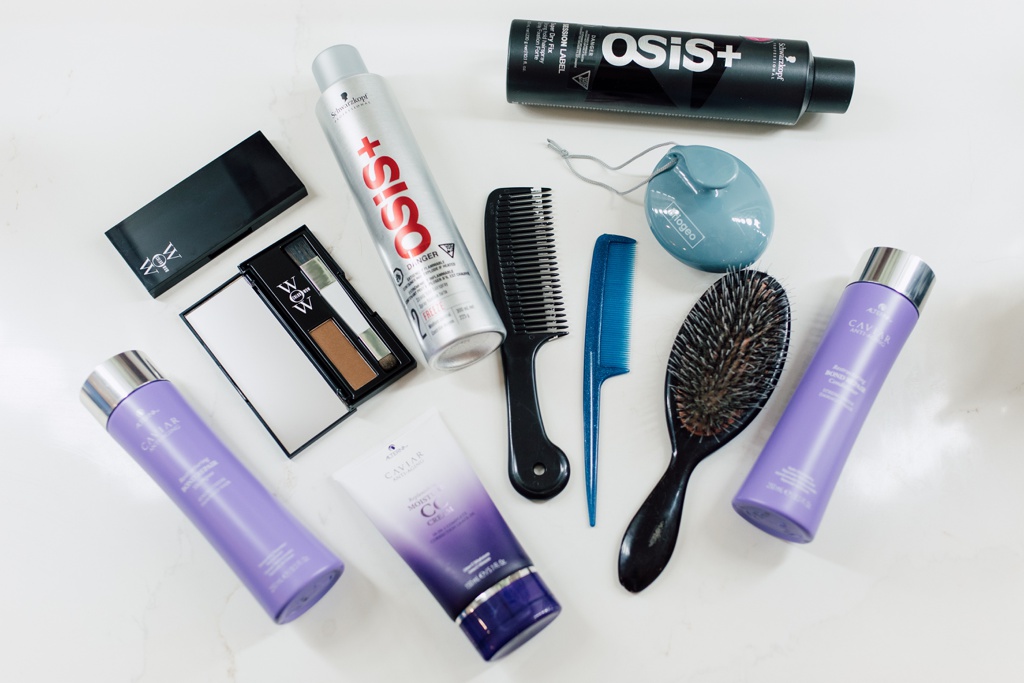
In terms of products that help give my hair some extra love, I treat my hair to the Alterna Caviar Anti-Aging Restructuring Bond Repair Shampoo and Conditioner. When I find a product that works well, I tend to stick to it. This is one of those products, especially if you have damaged hair. This haircare duo is awesome!
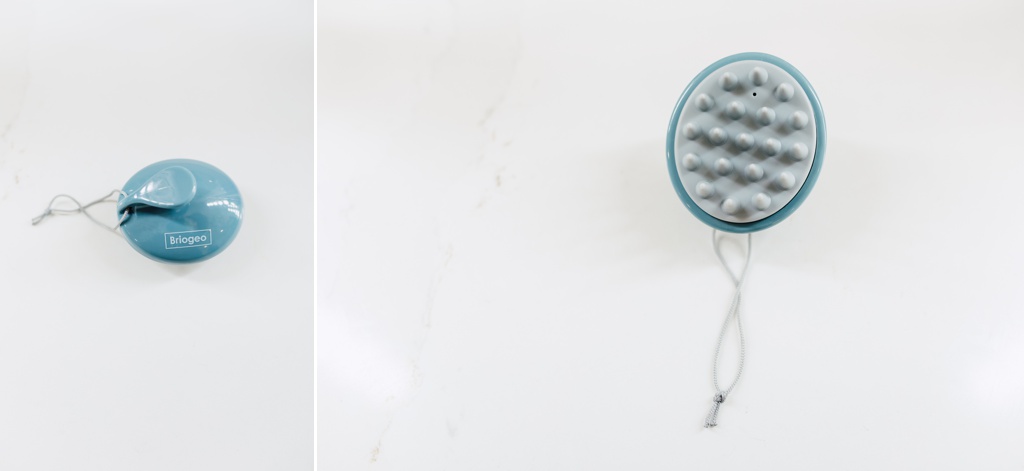
While my conditioner is hanging out in my hair working its magic, I grab my Briogeo Stimulating Therapy Massager and give my scalp a good old massage. Not only does it feel amazing, but it also stimulates the follicles to help make your hair grow. How good is that?
Combine the above magic with a Sugarbear Hair Gummy or Nature’s Bounty Hair Gummy and you’ll be sure to have healthier hair in no time!
Now let’s talk sleek bun.
Step One
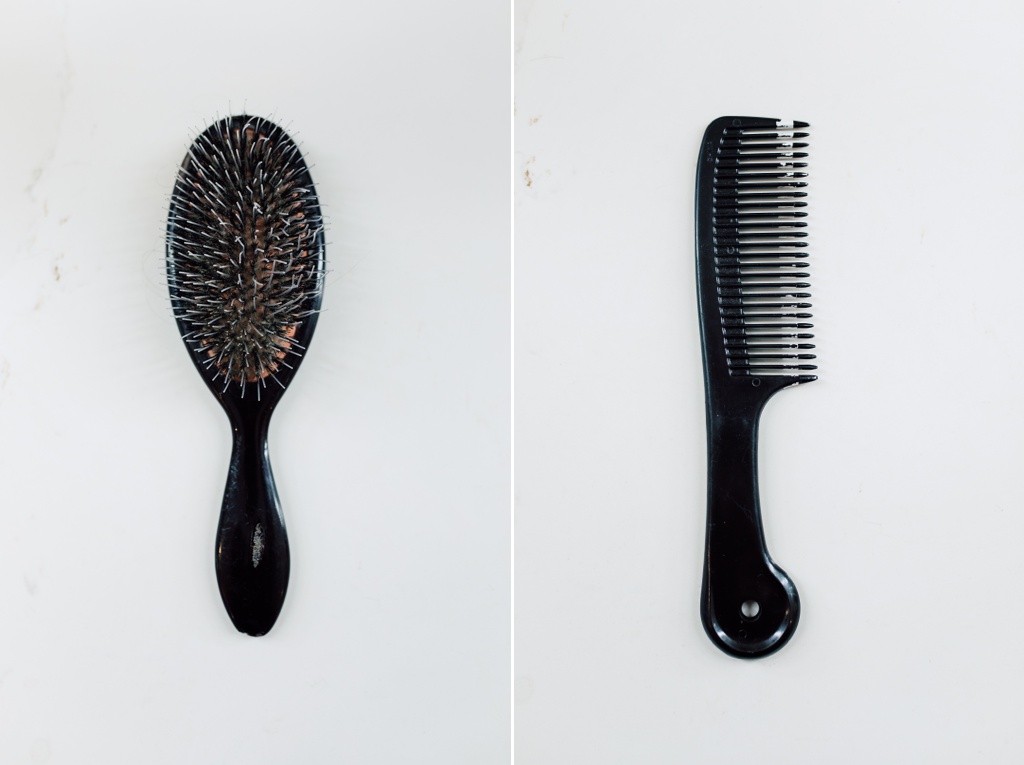
When you’re creating this look, you want your hair to be pretty fresh-out-of-the-shower wet. From there, perfect that center-part so it looks nice and sleek. Take a boar bristle brush like the Mason Pearson Brush that I tend to go for to brush it through. For an added hair hack, get ahold of a silk scrunchie or two to avoid damaging your hair when you pull it back. I use Scrunchies from My Kitsch. If you have super thin, fine hair like me, use two scrunchies to create the illusion of a thicker bun. But we’ll get to that bit.
Step Two
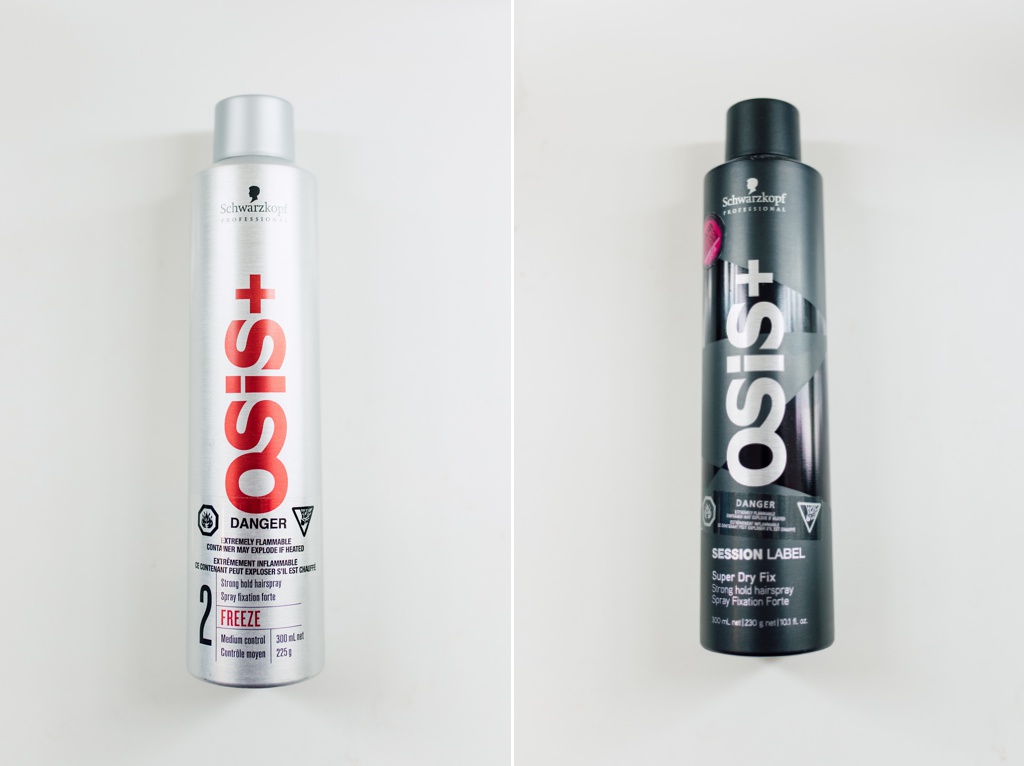
Once your hair is cleanly parted, take a hairspray like Osis+ Super Dry Fix Hairspray and give the hair a good spritz. Just with this alone, your hair will start getting pretty darn chic-looking. I also really like Osis+ Freeze Strong Hold Hairspray. It really has a nice, medium control that will keep your hair in place. If you have to manage flyaways, you can give your hands a spray to help smooth them out. Don’t forget to spritz the length of your hair a bit, too, as it’s about to be pulled back into a bun.
Step 3
Grab that hair and start brushing. Brush continuously to really get your hair cleanly into the ponytail, until it gets really flat to the head. Be sure to keep the ponytail low at the nape of the neck.
Step 4
I went ahead and used two scrunchies, you can use one or two, whatever works best for you! Keep the ponytail nice and tight as you put in the scrunchies to hold it in place. When we get to wrapping your hair around the scrunchies it’s going to make your hair nice and full-looking.
Step 5
Grab a smaller scrunchie, more of an elastic – My Kitsch has these, too! Can you tell I love them? I’m going to seal the deal with this little number. It’s still that lovely, silken material so you won’t damage your hair. Give your pony a little spritz, then using your little scrunchie, wrap your hair around the larger ones to cover them with your hair. Tie it off with the smaller one.
Step 6
Take some bobby pins to secure the bun down and cover the elastic. Gently push the pins into the hair to flatten the bun closer to your head. Victoria actually has quite a lot of hair and it’s a little slippery, so really go for it here.
Step 7
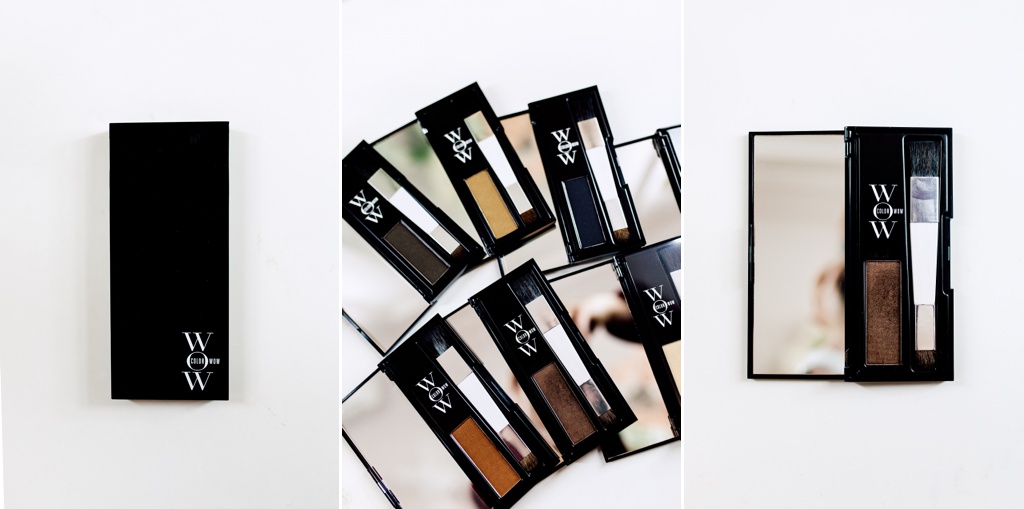
Give your hair a final spritz all over to get that bun looking super sleek! If you have a sparser area or two in your hairline, grab the Color Wow Root Cover Up to give those areas a touch-up for that illusion of fuller, thicker hair
When I have zero time but still want to feel really put together, this is my go-to! I love it. Give it a try and maybe you’ll end up adding it to your weekly hair arsenal. Let me know what you think!
Til next time…x

Featured Products
Alterna Caviar Anti-Aging Restructuring Bond Repair Shampoo // @alternahaircare
Alterna Caviar Anti-Aging Restructuring Bond Repair Conditioner // @alternahaircare
Briogeo Stimulating Therapy Massager // @briogeo
Sugarbear Hair Gummy // @sugarbearhair
Nature’s Bounty Hair Gummy // @naturesbounty
Mason Pearson Brush // @masonpearsonbros
Scrunchies from My Kitsch // @mykitsch
Osis+ Super Dry Fix Hairspray // @schwarzkopfcan
Osis+ Freeze Strong Hold Hairspray // @schwarzkopfcan
Color Wow Root Cover Up // @colorwowhair